How to Plan a Great Summer Hike in Colorado
A resource hub of guides to help you prep for your summer adventure; everything from making reservations, to weather checks, packing, and snacks
The Summer Hiking Season is Almost Upon Us
The potential for exploration is great. But after a long winter, it’s always a good idea to brush up on some safety and packing tips.
Whether you’re just getting into hiking — or are looking for ways to push yourself a bit harder and climb higher this season: this guide will help you plan more effective and enjoyable trips, to make the most of your season.
What we’ll cover:
Picking your destination, making trail reservations, and organizing your crew
Reading trail reports, beta, and weather forecasts to pick an optimal time
The gear you’ll need for the trail
Layering for trips with big altitude changes
Managing your nutrition, hydration, and electrolytes on the trail
Accurately estimating your travel time and crafting an itinerary
The hazards you might encounter on the trail, and how to avoid them
If you find this information helpful, be sure to hit the heart button at the top of the post, it’s a great way to let me know the kinds of resources you find useful in the future!
1. Choosing Your Destination, and Crew
The first step of course, is picking where you’d like to go. But because more and more Colorado destinations require permits, fees, or parking restrictions: you might need to make a reservation in advance.
I’ve compiled a list of hikes and trails that do require reservations. The list below will allow you to search all the places requiring reservations, and also has links that will take you directly to those reservation pages.
Arguably more important than the destination is who you get there with. Finding a great group to travel with — or just a solid hiking partner — won’t just make the experience more enjoyable. It’s a matter of safety.
"The closer you can climb to someone who’s at your level or slightly above, the better off you’re going to be. Take your pride, leave it at the car. And be willing to learn something from that person or vice versa — and be willing to turn around obviously. But group dynamics can take years to find the right climbing partner.”
During an interview on “Trail Talk,” I had a conversation with Meteorologist Chris Tomer about how to pick a hiking partner who won’t get you injured or killed.
Chris had a ton of helpful information in that podcast, and I have a more thorough write-up of his advice here.
This is the short version:
Less is more: the larger the group, the more likely you will have a miss-matched skill level, or that someone will need to turn around, or that you’ll feel pressure to keep hiking even when you want to turn around
Respect your teammate: only hike with people you know will respect your judgement if you express the need to turn around, or raise concerns about safety
Trust is hard to earn, easy to lose: if someone has pressured you and ignored your safety concerns in the past, or has given you reason to believe you cannot depend on them in an emergency, do not attempt a serious hike with them
2. Getting a Trail Report
Before taking things any farther, it’s worth making sure the trail you want to use is actually in good shape. There are a few ways to do this.
Check AllTrails for recent reviews that mention conditions
If you’re climbing a 14er, check 14ers.com to read recent trip reports. I also recommend using this site to find route beta
Get the forecast. Weather changes quickly in the mountains. Just because the trail was in great shape last week, doesn’t mean it will be any good for your upcoming trip. Don’t use a weather app — find a meteorologist who actually understands mountain weather. Chris Tomer, who I mentioned above, has a blog and YouTube Channel where he shares mountain forecasts. NOAA also works great for alerts and hourly updates.
3. Get Packing
Having an enjoyable experience starts with having appropriate gear.
If you’re newer to hiking — or just new to hiking in Colorado, or at high altitudes — this packing list will help you get started, without totally breaking the bank.
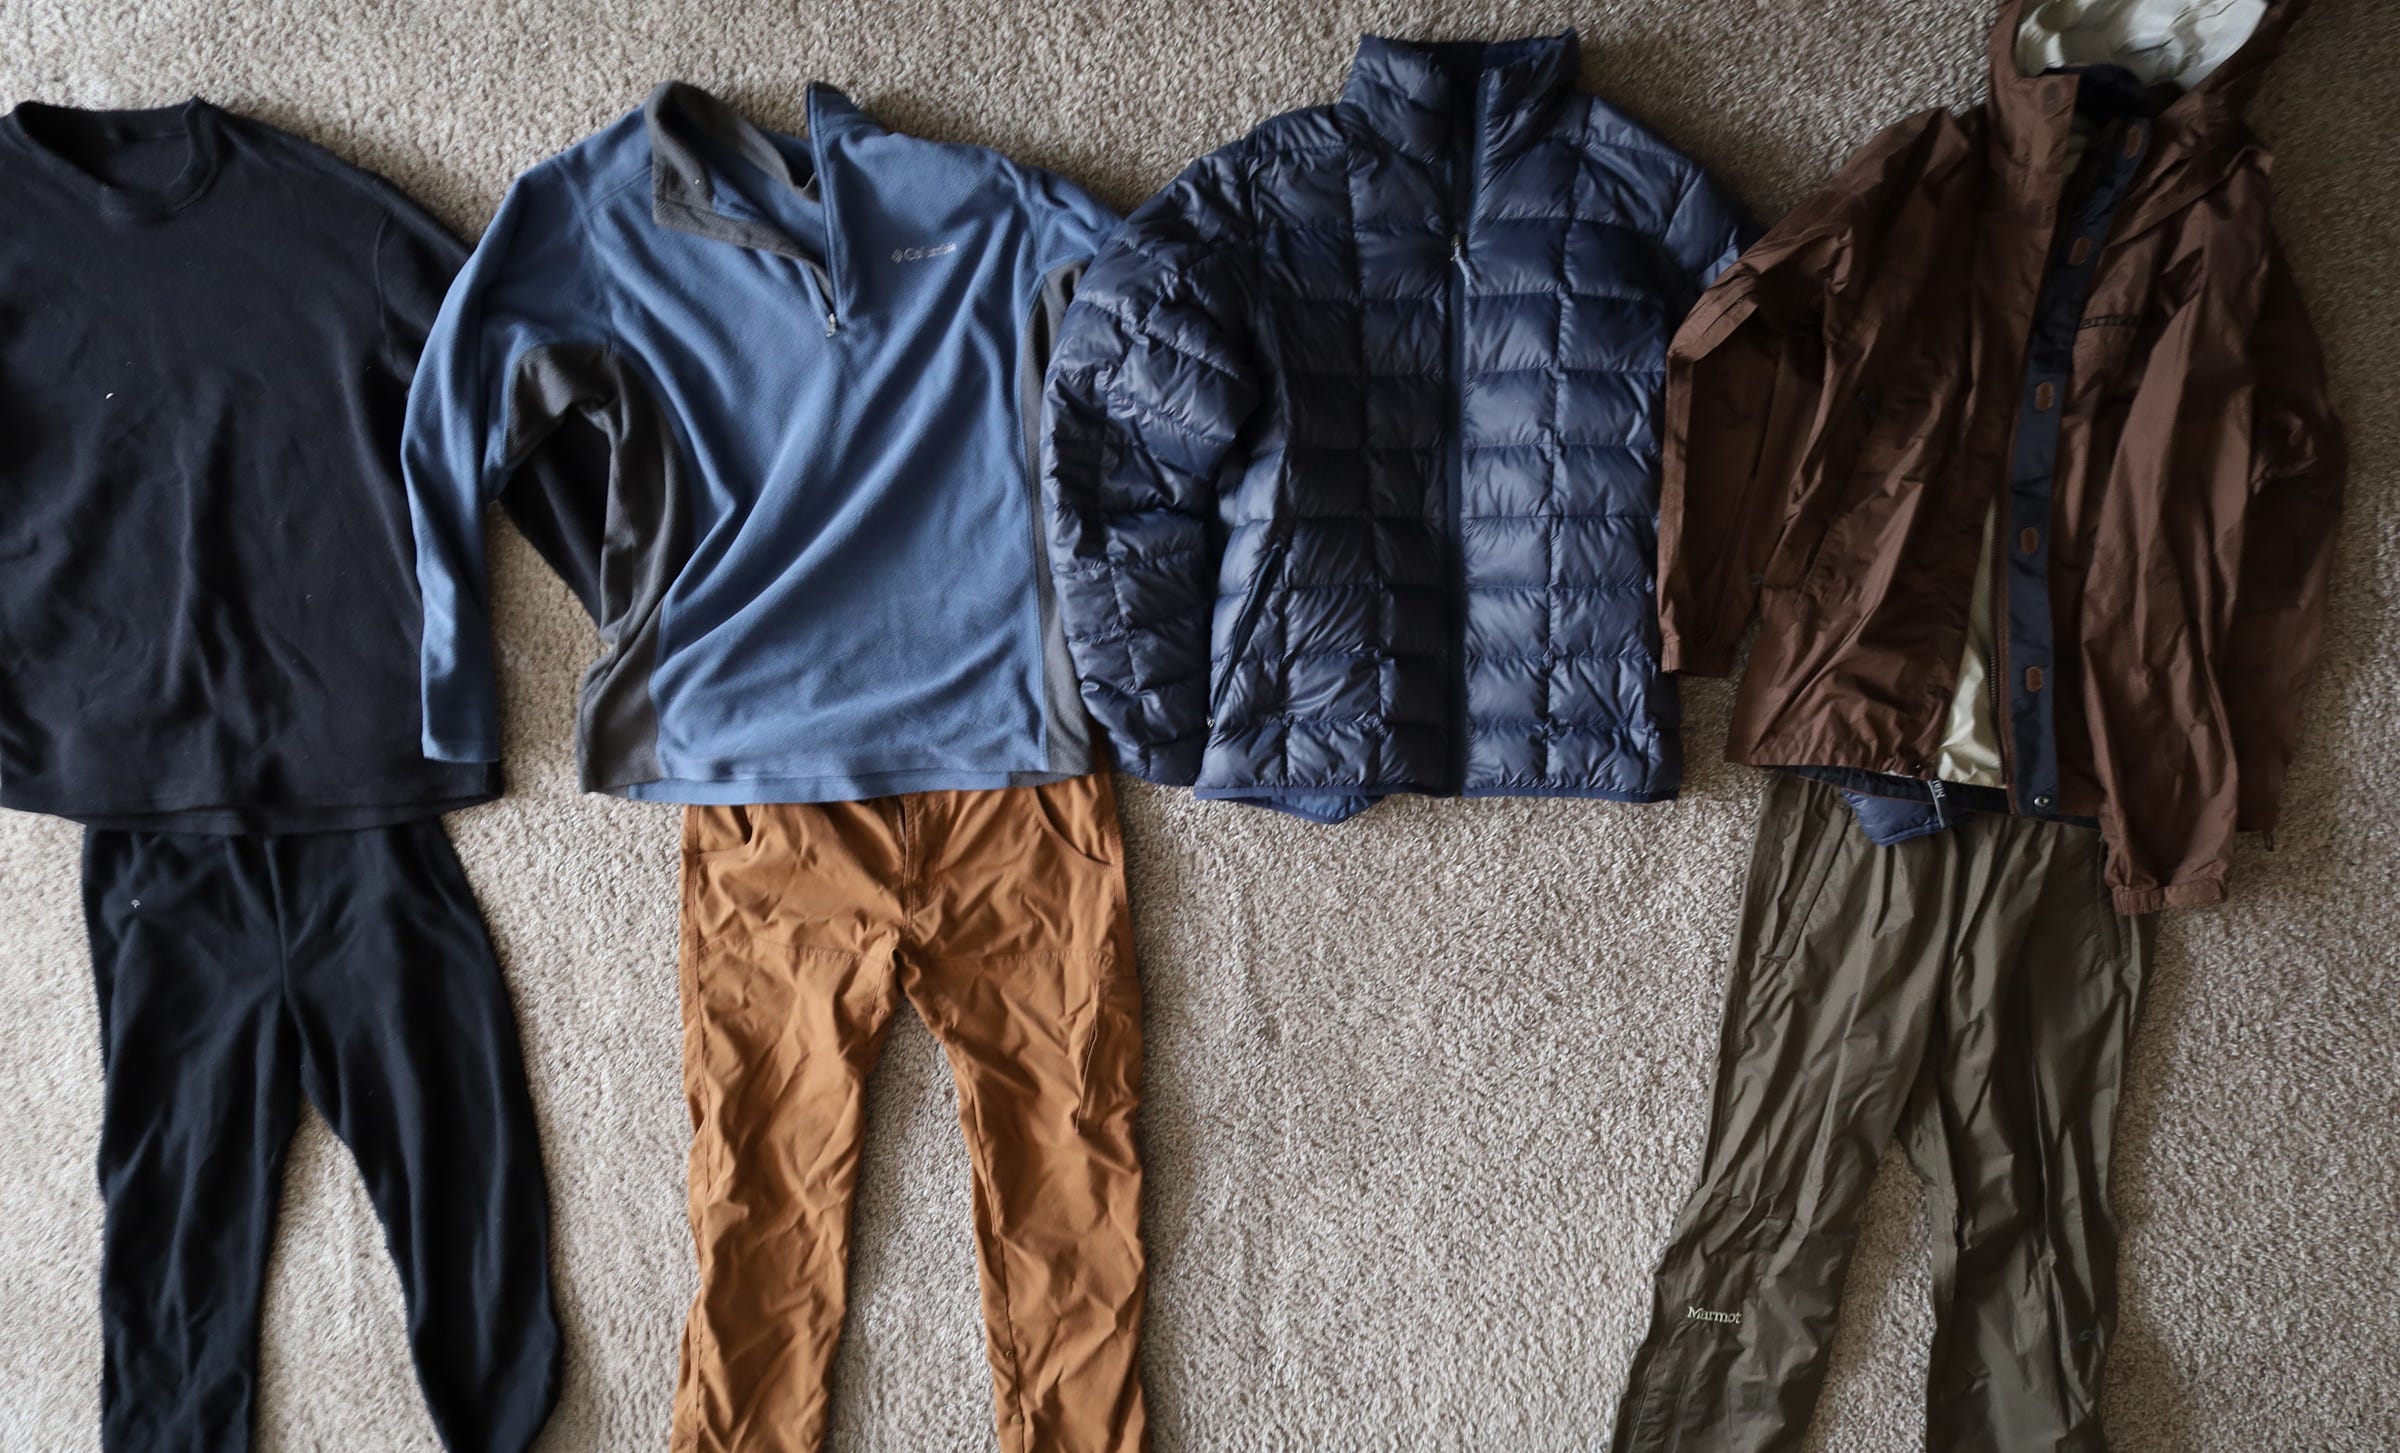
4. Layering to Handle Temperature Swings
The summer may mean warm weather around the metro area. But on the peaks, it can always get chilly. I would argue good layering sense is more important when you’re hiking through temperature changes.
For women, there are further considerations to make when picking out quality equipment. I brought in a guest writer to put together some good products that will make your trip outdoors much more comfortable.
5. Get Snacking — Good Trail Nutrition
When hiking, you’ll want to bring plenty of high-energy foods to fuel your adventure. I like to split my snacks into two categories: what I call holster snacks, and break snacks.
Holster Snacks
My osprey pack comes with two hip pockets that are great for easy access on the trail. One of these, I use to store convenient snacks. These are the types of food you can munch on, on the go.
I like to fall back on beef jerky, and energy chews. But trail mix is a great choice as well. Whatever you pick: the idea is to keep it bite-sized, and neat.
Break Snacks
These food items are reserved for fully stopped, pack-off breaks along the trail. Here, I like to use Cliff Bars, and Honey Stinger Waffles. These little energy waffles are a bit lighter than the Cliff Bars, which is great for when you want something solid, but still have a long way to go.
Hydration
You’ll want to bring more water than you think you need. Remember: if you feel thirsty, you’re already dehydrated.
I personally have found two Nalgene bottles full to be the right amount for me. On more strenuous hikes, I usually fill one of them with an electrolyte-replenishing drink. I happen to be using mix from Skratch Labs right now to get the job done. I have no strong preference, but you will want to avoid sweet tasting drinks, which will make you feel nauseous if you’re sipping them all day on the trail.
6. Crafting an Accurate Itinerary
Carefully plotting out your trip and budgeting your time is important for a few reasons:
You’ll want someone to know where you are, and when you’ll be back
You need to plan around possible weather hazards
To be able to actually plan with any degree of accuracy, you’ll need to figure out how fast you hike. Before tackling anything on the more serious side, pick a shorter local hike — but one that still has a decent elevation gain. Use this hike to figure out your approximate, comfortable pace.
I know that I can easily move 2mph, even when traveling uphill and stopping to take pictures. I also throw another half hour into my estimate, for spending time at the summit.
Once you’ve calculated your total travel time: make sure you’re starting early enough to be below the tree line before noon, and back at the trailhead before any other weather hazards roll in.
Share your plan with a trusted friend or family member. Include:
Where you’re parked
Where you’re headed
The route you will be taking
When you should be back
Who to call for help if you don’t return
Having all this information means if you do run into trouble: Rescue teams will be able to start a search much faster, and in a very specific area.
7. Managing Trail Hazards
Speaking of running into trouble — 99% of the time, things will go smoothly on your hike. The old saying goes:
“Mountaineering is often described as hours of boredom, interspersed with moments of sheer terror.”
In other words, the guy blasting music on his phone, strolling up the trail with no gear but the t-shirt on his back, will probably be fine. But up on the mountains, there’s no safety net. If you get hurt, help is hours away in the best of circumstances.
That’s why we come prepared.
Navigation
Take this from someone who has both accidentally led dozens of strangers astray in a pre-dawn hike up Mt. Democrat, and also saved a stranger who got off course on Kelso Ridge: the person ahead of you doesn’t necessarily know where they’re going.
That’s why you should familiarize yourself with the route and bring some form of map or navigation device. Here are a few options:
If you’re planning on long term hiking, and have a bit of money to invest, I recommend hiking with an InReach, or some other kind of sat phone or locator device. This model from Garmin allows you to send texts, check your map, and broadcast an SOS
Get the COTrex app, download the appropriate map for the region you’re exploring, and ensure you are conserving your phone’s battery. I feel obligated to say that this is absolutely not my recommended method. Relying too heavily on your cell phone battery is never a great plan
Bring a compass and paper map, and take a few minutes to learn basic orienteering
No matter which route you take, I always bring a paper map as a backup. To save money, I use sites like Topo Zone to generate local maps and print them for free. Then I stick them in a plastic bag so they’re safe from the elements.
Click the button below to generate your own map. All you need is the name of the area, trailhead, or landmark you’re exploring.
Wildlife
Wildlife is an incredible part of the outdoor experience. But it’s not all fluffy marmots and tiny pikas: some of these animals are massive. And while most don’t intend to do you harm, they certainly can if you get too close.
The general guideline is the “rule of thumb.” If you hold your arm fully outstretched and raise your thumb, it should be able to fully cover the animal from your view. If not, you are too close!
Rattlesnakes
While venomous, very few people die of rattlesnake bites. If bitten, you need to get to a hospital as soon as possible. The longer you go without treatment, the more likely you are to be left with long-term complications.

Preventative measures work the best here. During rattlesnake season, hiking with pants and close-toed shoes add an extra layer of bite defense. Keep an eye out for where you’re putting your feet.
Keep your dogs on a tight leash. The Venn diagram of places dogs like to stick their faces, and spots rattlesnakes tend to hide, is pretty much a circle. If your dog is bitten, you need emergency veterinary care. Just make sure you call ahead. Not every vet has anti-venom in stock.
Bears
Colorado is home almost exclusively to Black Bears — which is good, because they tend to be less aggressive and territorial. Most will run from the sight, or sound of you.
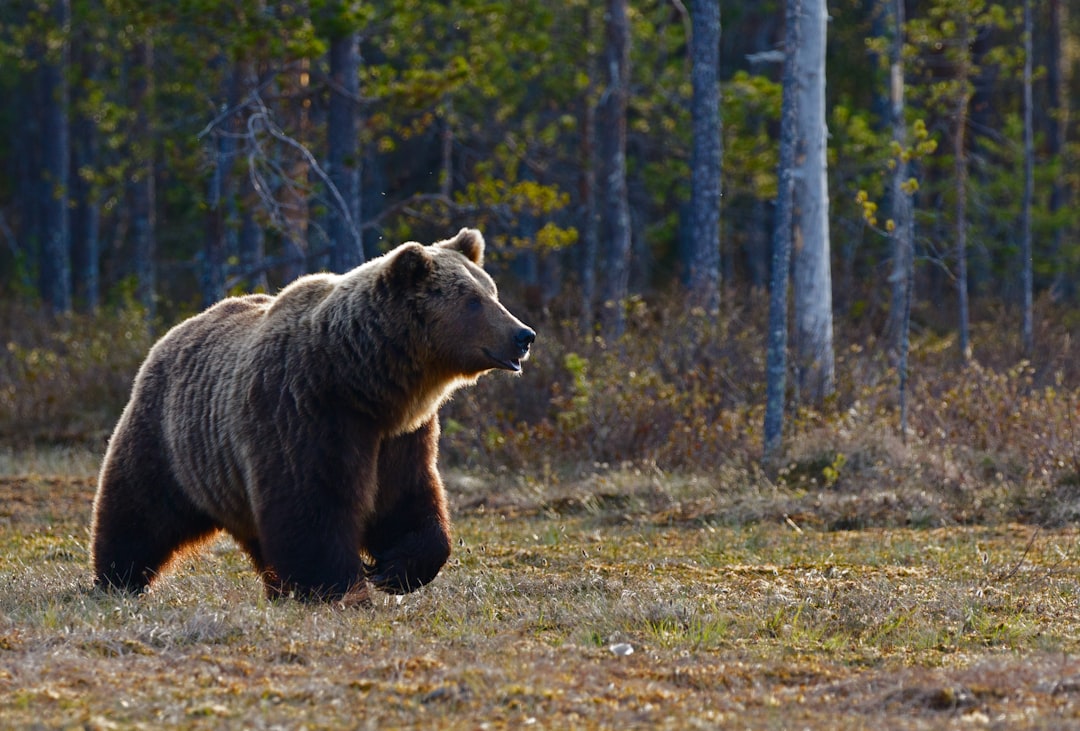
If you happen upon a bear anyway, the National Park Service recommends you:
Talk in a low-tone, calm voice, and slowly waive your arms so that the bear recognizes you as human
Pick up small children immediately
Do not scream, squeal, imitate bear noises, run, or make sudden movements. This could lead the bear to believe you are prey
Make yourself look as big as possible
Do not drop your pack, or give bears access to your food
Do not run or climb to escape
Be extra careful around female bears with cubs, and always make sure you’re not standing between a bear and their only escape route
Mountain Lions
Big cats usually leave groups of hikers alone and prefer to pick off stragglers. Try to avoid solo travel, in areas where mountain lions like to hang out, or during times these animals are highly active. That’s usually around dusk.
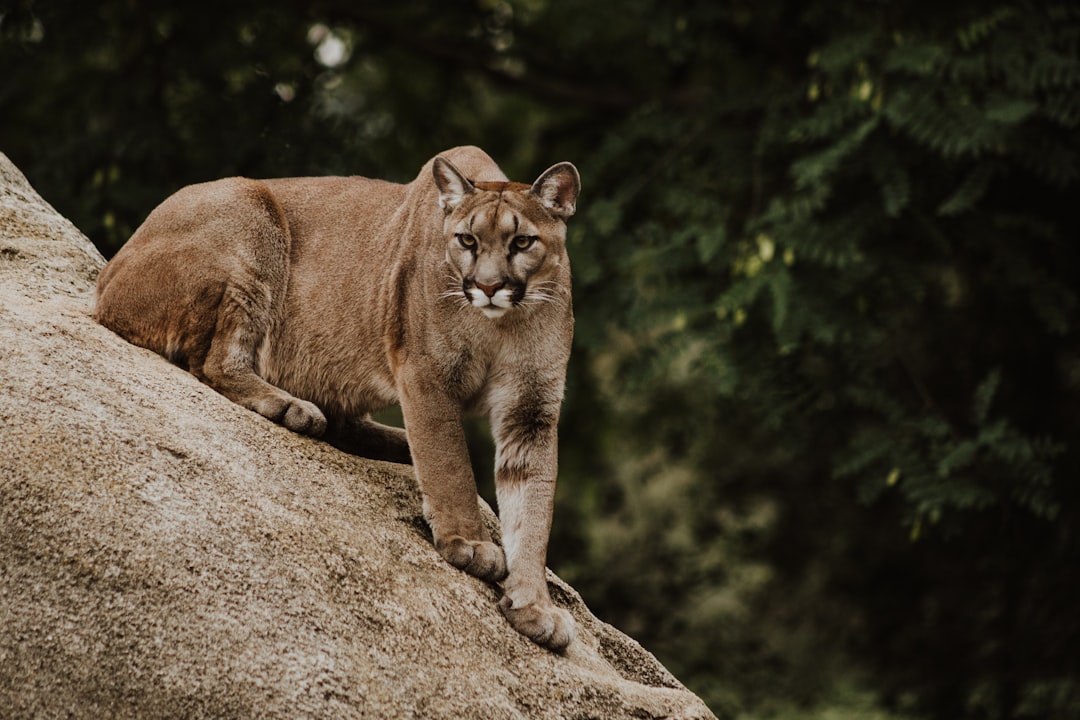
If you see a sign warning you about mountain lion activity, take it seriously. Do not travel in the area alone.
If you do see a mountain lion, do everything you can to avoid looking like prey
Throw objects at it to scare it away (provided you do not need to crouch to pick them up)
Wave your arms, open your jacket, speak in a low voice
Do not crouch or stoop
Do not turn your back on the animal
Do not run
If attacked, fight back with whatever you can, without turning your back and exposing your neck
Moose
The creature I’d least like to run into on this list. Seriously — I’d rather have to step over an alligator on a trail than come anywhere near a moose.
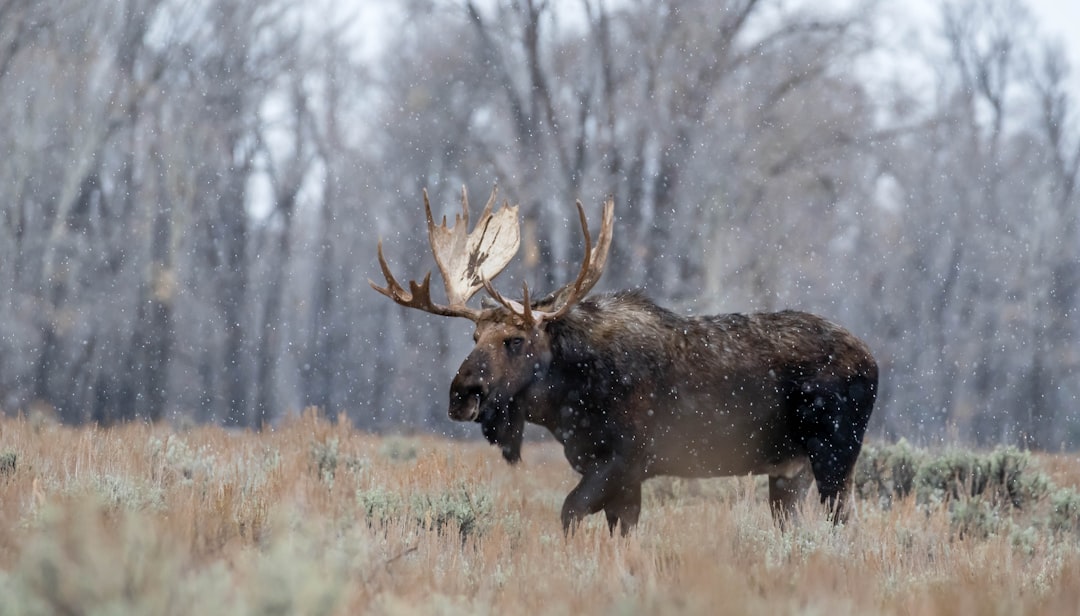
Give them tons of space. Leash your dogs. Moose will try to trample and kill your dogs. If your dogs are off leash, they may investigate the moose, get scared, and run back to you. The moose will chase your dog, and try to trample you as well.
If you stumble upon a moose: position yourself so that there is a large object like a tree between you. This will give you some protection if they charge.
From here, slowly back away without turning away from the animal.
Acute Mountain Sickness — Also Known as AMS or Altitude Sickness
Activity at higher altitude means your body won’t be getting as much oxygen. AMS can usually be avoided by properly acclimatizing — hiking a few other trails in the mountains before going right for the 14ers — and staying hydrated.
Some symptoms of AMS are difficult to separate from the impact of vigorous exercise: fatigue, and a high heart rate for example. But if you start to notice some of these other symptoms: it’s time to turn back and head for lower elevation:
Severe headache
Nausea
Swelling or discoloration of the extremities
Confusion
Shortness of breath, even at rest
Imbalance
Coughing up blood
AMS can lead to severe secondary conditions, such as Pulmonary Edema (fluid in the lungs) or brain swelling. So it’s important you retreat to lower elevation for minor symptoms, and follow up by seeking medical attention for more severe ones.
Some people carry supplemental oxygen to mitigate the effects of AMS. I’m not a fan of this method; and personally believe the tanks are a waste of space in your pack. The relief it provides is extremely fleeting, and I think it gives a lot of hikers a false sense of security.
Weather
Lightning
This hazard can largely be avoided by getting below the tree line before noon. Summer storms can form quickly and with little warning. If you’re caught out in a storm, avoid standing in the open, or beneath lone, tall objects.
Wind / Rain / Heat / Cold
These are problems that can unfortunately be very tough to avoid, if you haven’t packed appropriately. Ensure you’re always carrying a wind-breaking, waterproof outer layer to protect against wind and snow; layering appropriately to defend against the cold; and bringing enough water to stay hydrated during hot temperatures.
Are You Forgetting Something?
This is my quick final checklist for summer hiking that I find hikers often don’t expect to need.
Gloves
Knit hat
Head lamp
Face covering (for wind)
Sunglasses, and extra sunblock
Rain shell
Spare socks
Am I Forgetting Something?
I tried to be as comprehensive as possible when making this guide, but everyone prepares for trips differently. Are there planning steps, gear items, etc. you think I’ve missed? Let me know with a comment!
I’d also love to hear about where you’re excited to go hiking this summer! If you don’t have a story or tip to add — hitting that heart button on this post is supremely helpful. It helps let me know the kind of resources you want to see more of!




Great list! I would add, it's imperative to carry basic first aid, and I encourage people to get Wilderness First Aid training from an organization such as NOLS. Be prepared to be self-sufficient in case you have to wait an hour or longer for help, and be prepared for your body temp to drop. This is why extra layers and an emergency bivvy or blanket is important. A safety kit should include things like a whistle (to call for help with three short blasts; your voice will wear out sooner than a whistle), bandages to stop bleeding and a small syringe to irrigate a wound, self-adhesive wrap to bandage and support a sprained ankle, etc. I carry a kit with this on all my high-country outings in case I get hurt or I encounter someone who needs help. I appreciate that you said to not be reliant on a cell phone; not only can they run out of battery, but many mountainous areas do not have coverage. I carry a SPOT GPS tracker for solo outings so it leaves an electronic trail of where I am, and it has an emergency SOS button to call to search & rescue. Three years ago, an experienced local mountaineer (here in Telluride) went missing, and didn't have a phone or anything. He had fallen down a mountainside and died from trauma. The search for his body lasted weeks and was agonizing for family. He was too casual about safety going out, since he was relatively close to home and on familiar territory. Sadly, this can happen.
Pretty good lists. I have one issue, and that is the concept of putting anything in your water bottle except water. If you put anything but water in it, it should not ever be in your tent. That is just inviting the bears (and mini-bears ...) into your tent. The "contaminated" water bottle needs to be up in the bear bag on a hoist every night literally forever from then on. Remember that all wildlife have better noses than humans. Just because you can't smell it, doesn't mean they can't.
On another note, I cannot stress enough having at least one person (and preferably two, of course) fully trained in Wilderness FirstAid. I am, and was very happy that our group had some, because we did get into a situation where understanding the fully import of the problems made a difference in the outcome of the problem. AMS is NOT something to be ignored, under any circumstances. Understanding the differences between the levels of AMS is important. HAPE (High-Altitude Pulmonary Edema) and HACE (High-Altitude Cerebral Embolism) are bad news. If you are at altitude, somebody needs to understand these syndromes, especially if you and your team are going to be at altitude for an extended period or away from easy access down-mountain.