Dressing for Winter Weather: How to Effectively Layer
Arming you with the information you need to regulate your body temperature on even the coldest of trips.
Some of the most breathtaking sights I’ve seen have been on bitterly cold hikes. But venturing out in low temperatures bring a host of new challenges. The biggest one: regulating your body heat.
This is no reason to miss out on some of the gorgeous views winter hiking has to offer. I hope through this guide, I’ll arm you with the information you need to safely bundle up for an enjoyable adventure.
Here, I’m going to be focusing specifically on gear for cold weather camping and hiking.
I’m also going to assume you at least have the basics for hiking in warmer weather. If you’re starting from scratch, check out this article first:
It walks you through the critical gear you won’t want to leave home without.
You Pay for Bad Gear Three Times
Just like in my previous guide: our guiding principle is that if you plan to stick with the sport, you should try to get the best gear you can. I always say that you pay for bad gear three times:
At your point of sale
When you suffer through equipment failure
When you replace it with something that’s actually up to the task
I respect your time and finances and know that this is an expensive world to break into. I’ll be sure to point out what equipment you can hold off on buying, or substitute with something you already own.
But when we’re dealing with the cold: there are some pieces of equipment that simply cannot fail. We don’t want to go for a budget option on those.
And remember: we’re looking to get quality gear that lasts for years — if not a lifetime.
Consider sharing this guide to prepare a friend for their upcoming cold weather trip
“Comfortably Cold”
Before we start shopping, there are a few important factors to tuck away in the back of your head. These will inform the features you’ll be looking for in your equipment.
When your hike begins, you don’t want to be warm and cozy. As your activity level increases, your muscles burn more fuel, and your whole body warms up. If you’re bundled up already, you’re going to overheat, maybe even sweat.
That, in turn, can make you extremely cold when you stop to take a break.
To avoid these huge body heat swings, I like to start in a sensation I call, “comfortably cold.” You shouldn’t be shivering, and none of your fingers or toes should be numb. But you should feel a bit chilly, and antsy to get going.
On demanding, frigid hikes, you may not be able to strike this balance. In these cases, it’s important to adjust your layers the moment you start to feel your temperature rising.
I bring this up first because I want you to keep that speed factor in mind when shopping for your layers. Quarter zips, full zipper fleeces, and convertible pants are all features on clothes that might seem insignificant. But they all give you the ability to quickly vent off heat without so much as breaking stride.
Throughout this article, you’ll notice I don’t just talk about staying warm. There will be much ado about regulating your body heat. You want to be warm, not hot.
Cotton is Rotten / Wet Will Kill You
When picking our gear, we need to ensure it is non-cotton. This goes for everything — socks, underwear, T-shirts, etc. Cotton soaks up sweat and other moisture, trapping it against your skin and sapping your body heat.
It also stops insulating you effectively when it’s not dry, unlike other materials such as wool.
Don’t Lose Your Head
You’ve probably heard the old myth: “you lose 80% of your body heat from your head.” There’s probably a grain of truth to this, in that you lose heat from whatever part of you is exposed.
Hats aren’t always a part of our wardrobe when stepping outside. But reducing exposed skin is an important factor in mitigating heat loss. That’s why hats, gloves, and a few other neat tricks are going to appear on our shopping list.
Bundling Up Tight, Right
When mountaineers climb Everest, there is no “mega jacket” they throw on over a t-shirt that magically keeps them warm. It’s all about strategically dressing in layers.
That’s the same whether you’re climbing Denali, or going out for a casual fall hike.
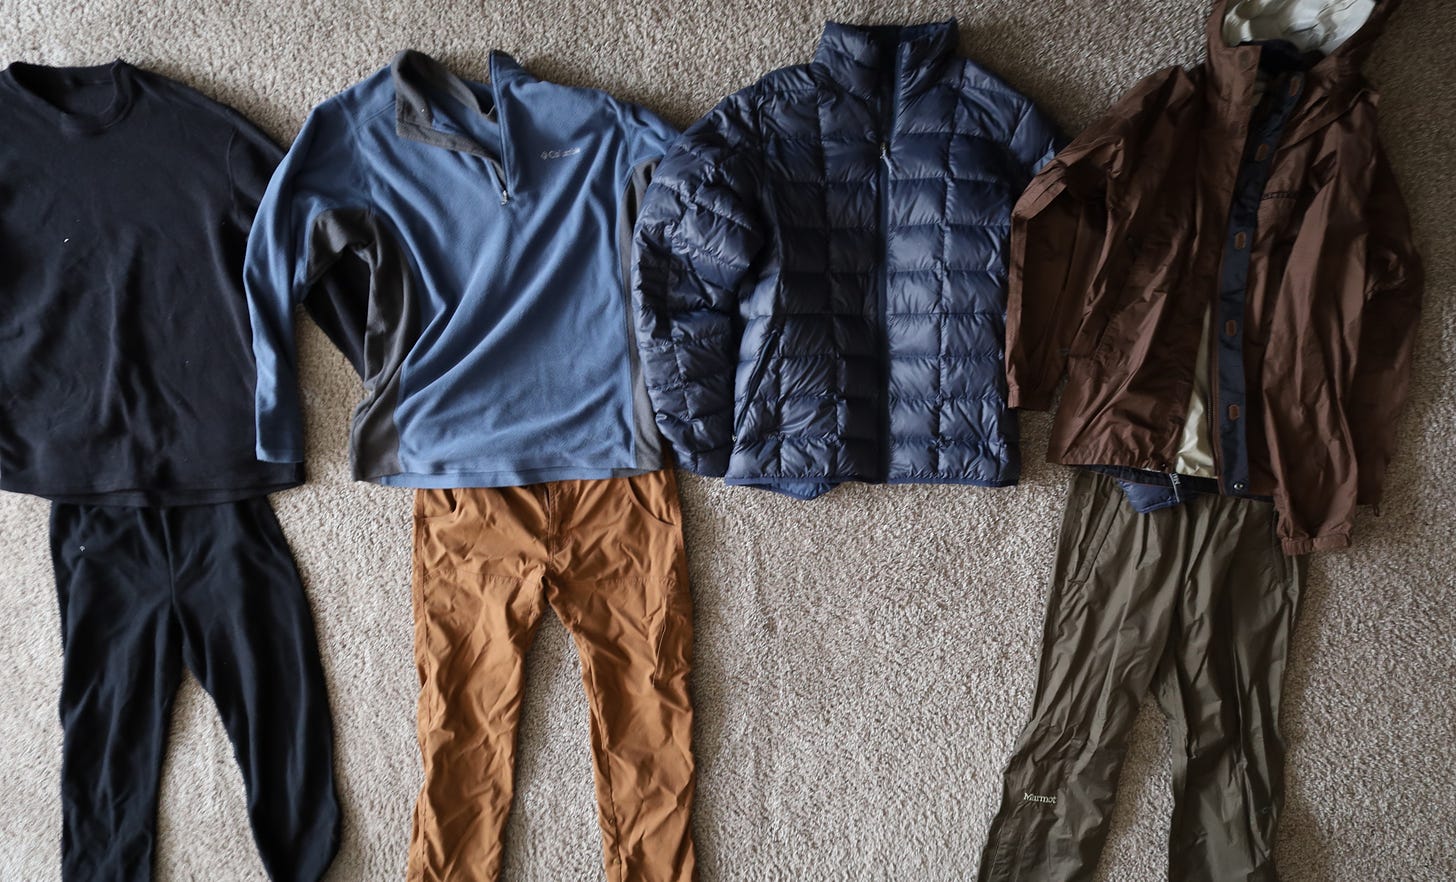
Four basic layers will make up your kit:
Wicking
Mid Layer
Insulation
Shell
Remember this principle: you will always work with these four layers no matter the temperature. The components themselves will change, but the way they work with one another, and your body, does not.
Wicking — Total Cost: $90
This is the layer up against your skin. The main purpose of this layer is to draw moisture away from your body. This keeps you from getting soaked in your own sweat.
What to Look for:
Whatever brand you buy, always remember to check the tag. You’ll want to make sure you’re buying something made from synthetic fibers like polypropylene.
Throughout my time as a Boy Scout, Hot Chillys were my go-to base layer. They come in light, mid, and mountain weight. I almost exclusively went with the lightest option, because you don’t want one layer to be doing all the work — especially a base layer that you can’t remove if you’re overheating.
This layer will cost you about $45 dollars apiece for tops and bottoms.
For cold excursions, you’ll need a base layer that covers your torso, arms, and legs.
For warm ones, a base layer may just be a good pair of non-cotton underwear, with a short sleeve wicking shirt; both made from synthetic fibers of course.
This is something you probably already own. For me, it’s my blue REI co-op shirt, pictured a bit further below.
What to Avoid:
Some people swear by full body suits. They do eliminate some heat escape near the waist. But as I mentioned above, I don’t like too much of my warmth to come from my base layer, since it can’t be removed.
Full body layers also come with some additional complications for using the bathroom. I don’t think the added benefit is worth the hassle unless you’re going somewhere really cold.1
Mid Layer — Total Cost: $75
In your day-to-day existence, this layer would be whatever you wear over your underwear.
What to Look for:
If you’ve seen enough pictures of me from the trail, you know that my mid layer is almost always exactly the same thing: prAna’s stretch “Zion” fabric performance pants on the bottom. Right now, it’s on sale for $50, which I’d consider a steal.
The pants have a few extra features that I love.
Abrasion resistant — I’ll be protected from brushes with jagged rocks or trees
Stretch fabric — my movement is unrestricted
Quick dry/hydrophobic — spilled water, precipitation, and snow can be brushed right off without getting me wet and sapping body heat
Roll-up button cuffs — great for quickly venting off a bit of heat around my shins and ankles
These tiny quality of life improvements will keep you comfortable, and help you regulate your body heat.
On top: a fleece is a great choice for a mid-layer. I have a quarter-zip from Columbia — similar to this one. it comes with a nice feature like thumb loops, which keep your wrists covered and add insulation when you’re wearing gloves.
The quarter zip, again, gives you a great option for venting some of your heat. but this is also territory where it pays to know your body. If you tend to get sweaty quickly, you may want to consider a full zip.
At time of writing, it also appears Columbia is running a sale on some of their older designs. This fleece is a similar product. But you can pick it up for about $25 dollars instead of $65.
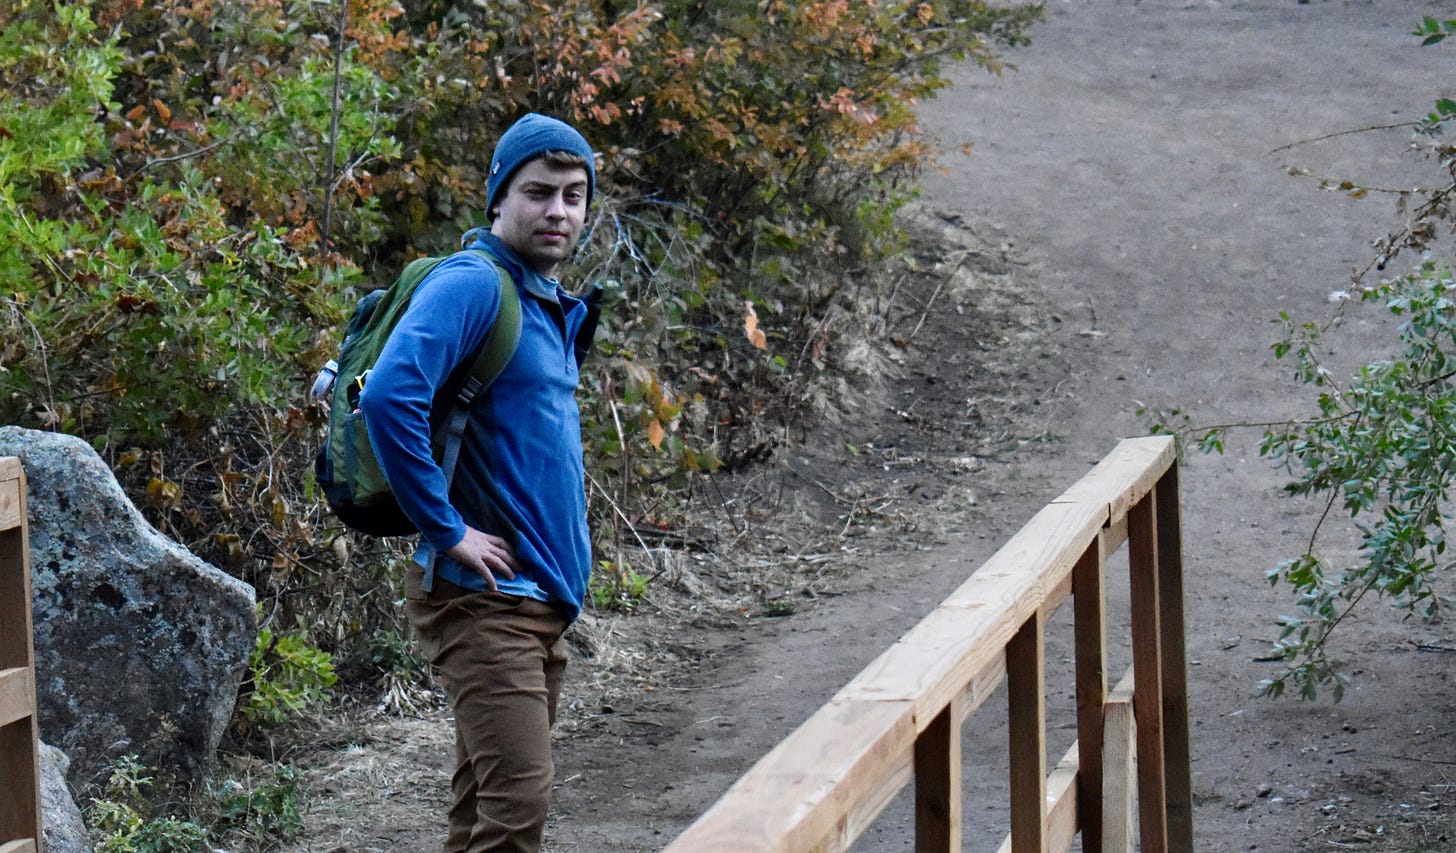
What to Avoid:
Always try on your base layer to ensure you can move comfortably in them. I had a pair of Mountain Hardware pants that were great for keeping me warm and dry but restricted my movement because the fabric had less flex.
Don’t discount the comfort factor!
Insulation — Total Cost: $100
This layer should be the one doing the heavy lifting, trapping your body heat. In my opinion: a good down jacket is the best tool for the job. This jacket in particular.
Remember when I said there are some cases where a budget option just won’t do? This is one of them. I’ve linked the exact jacket I own, and I never hit the trail without mine. Here’s why:
Weighs almost nothing, coming in at 11oz.
Folds down to fit inside its own pocket, taking up virtually no pack space2
Waterproof for light precipitation
Extremely warm for its weight
This is critical when you’re doing big elevation changes (think 14’ers.) Having a layer you can quickly roll and stow as you walk through big temperature swings is great.
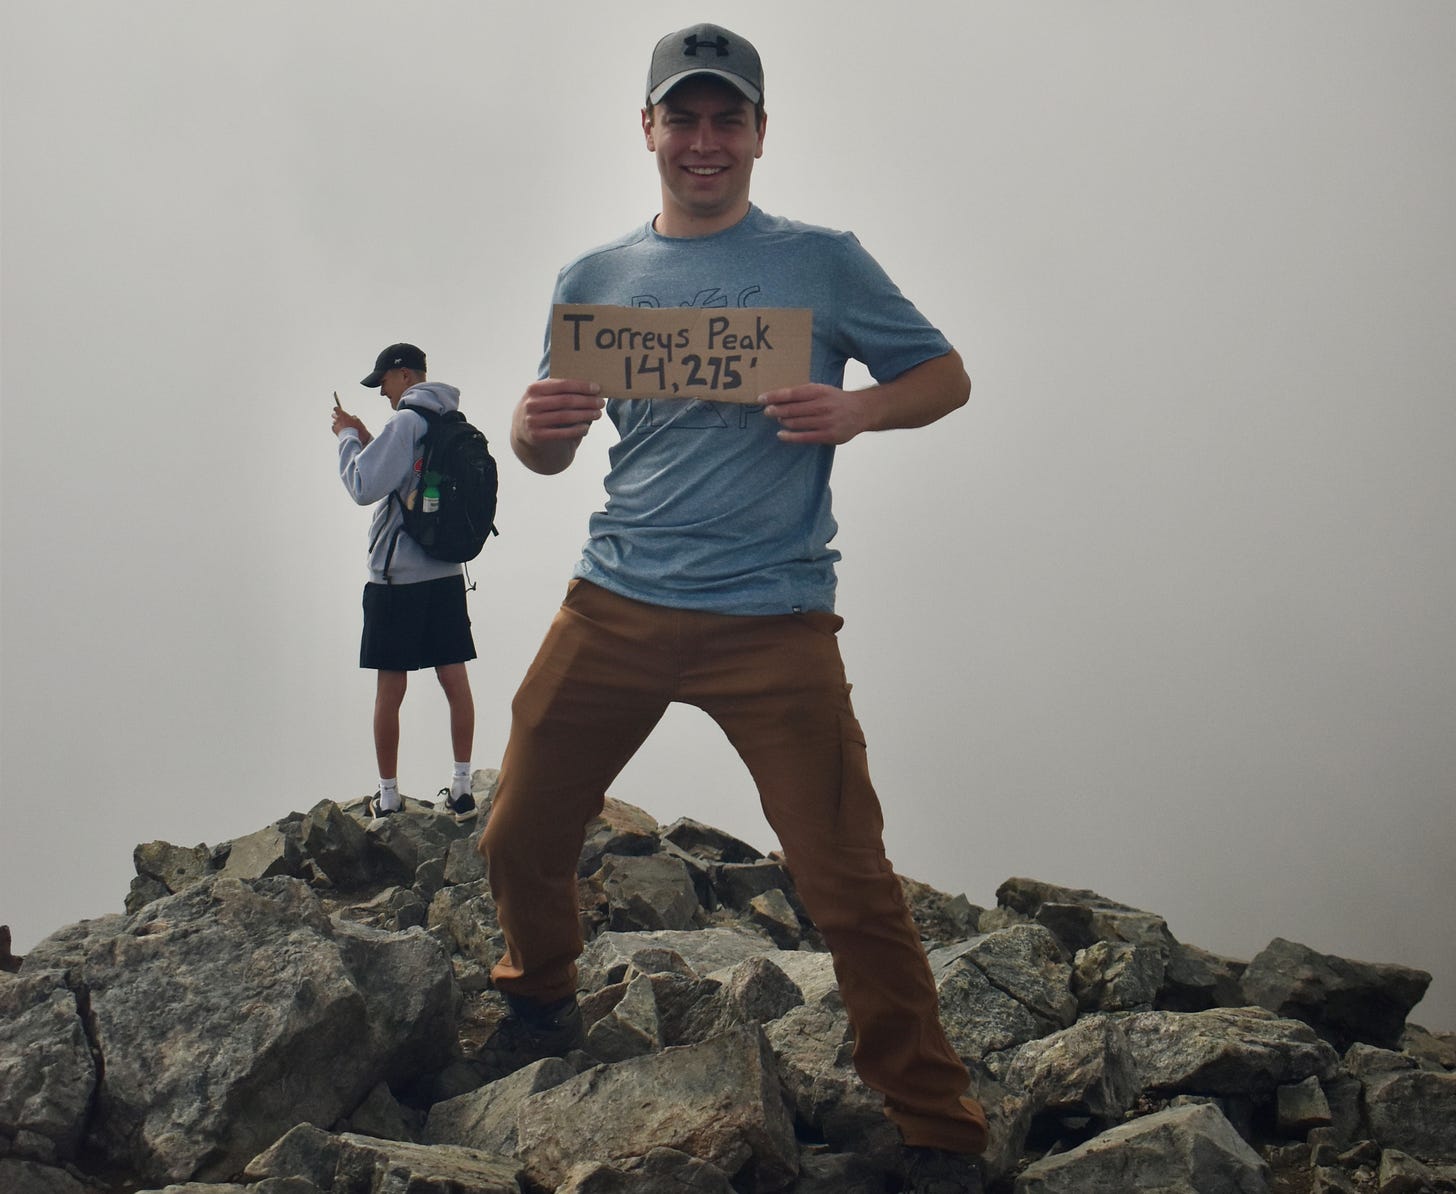
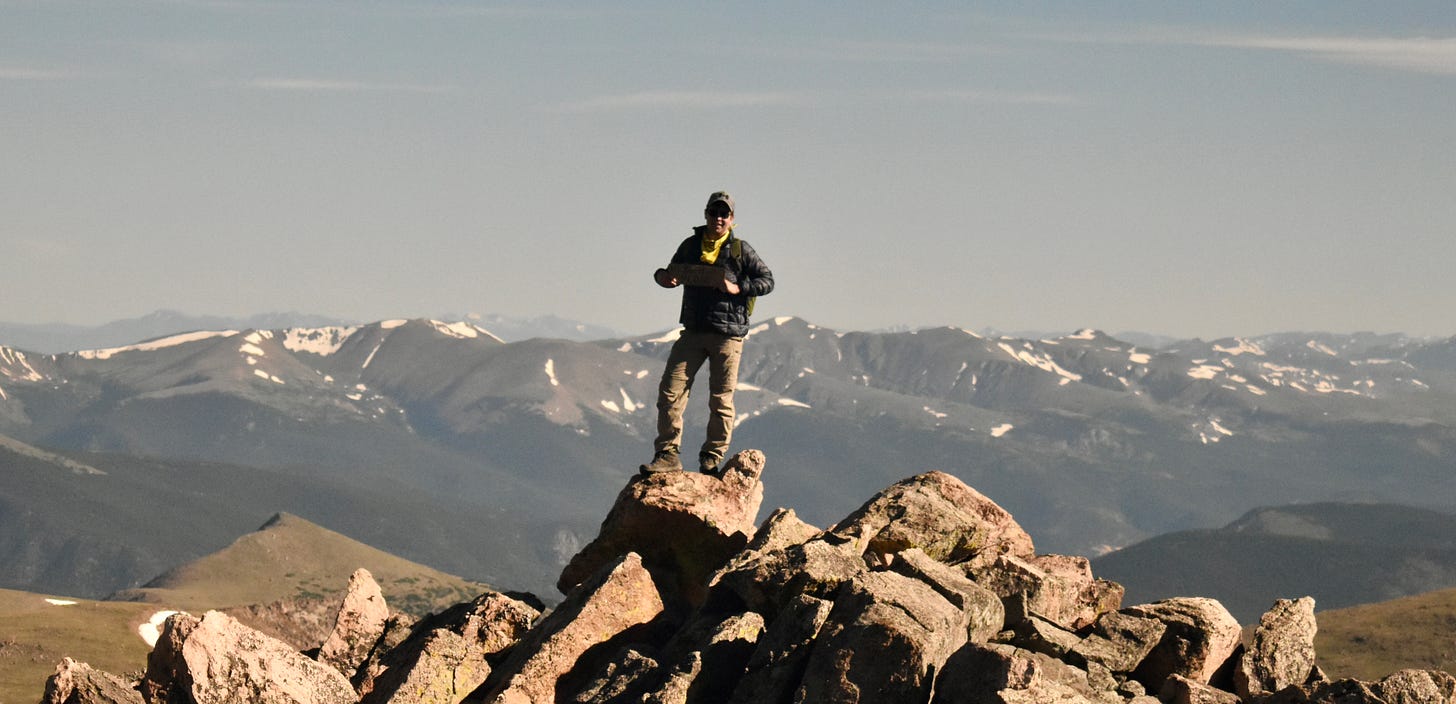
It’s tough to see in the zoomed-out photo, but this is me at the peak of Bierstadt. It’s great for blocking a bit of wind, and easy to pull out in a pinch.
If Money Were No Object…
If you’re looking to get serious about hiking, have ambitions to go on a winter backpacking trip, or find yourself getting cold easily: you may want to splurge on your insulating layer.
The Mountain Hardware Ghost Whisper/2 shaves precious ounces off your pack weight. It also has a significantly higher fill power — basically a measure of warmth — without taking up any more space. It also has a hood, which is great for keeping your head warm. For the added warmth and features, you’ll pay $325.
For a middle ground option, you can also try the Rab Microlight Alpine jacket. It’s a bit less pricey than the Ghost Whisper. Granted, it’s also heavier than both other jackets I’ve mentioned, and falls somewhere in the middle in terms of warmth.
Shell — Total Cost: $40-???
If you followed my first guide, you may have already purchased a shell.
If you haven’t: we’re looking for something water and windproof to repel the elements, allowing your other layers to work properly. As we discussed before: warmth-trapping is not the primary function of this layer.
On most trips, I bring a Marmot rain jacket and rain pants. The benefit here is that every piece of gear can easily be carried in a daypack, and weighs little.
But beyond the fall hiking season, more robust equipment becomes necessary.
For more advanced mountaineering, colder conditions, and longer exposure to the elements: a dedicated soft-, or hard-shell layer is necessary. Early in your hiking and camping journey however, there are other things you should focus on acquiring first.
Early in your hiking journey: a good ski jacket will serve you fine. The drawback here is that most companies combine the insulation and shell layers for convenience. This will make it a bit harder to regulate your body temperature.
If you’re getting a bit more serious and still need a good rain shell recommendation, I’d go for the Marmot Minimalist. It weighs in at 16 oz., utilizes Gore-Tex Paclite, and will set you back about $190. At this stage, that’s a great price for a high-quality shell layer.
Extremities
In cold weather: think of exposed skin as a leak in the layer system we’ve spent all this time building up. Extremities can get overlooked in the packing process — but your ears, nose, fingers and toes are the first parts of your body that will begin feeling frigid.
Head — Total Cost: $18-$40
I take a wool knit beanie with me on every trip. I’ve linked one that’s relatively cheap, at around $18 bucks. Usually that, plus my hood, is enough to keep my ears warm.
But if you find yourself often cold, one of my tricks is to throw on a running or cycling headband. Ten bucks. Fleece and polyester. Great bit of extra protection.
Note: some like to go with a full balaclava. If you do, you can skip the hat and headband. I prefer to save balaclavas for sub-zero temperatures.
For warmer winter outings, I use a neck gaiter instead. In keeping with our theme of thermal regulation: it’s difficult to remove a balaclava when you get hot. A neck gaiter can easily be raised and lowered to cover your face and nose.
Hands — Total Cost: $70-$200
Fingers are tricky. They get cold fast, so you’ll want to bundle them up. But you also need them relatively free to interact with objects.
A good starting option on the low end are these gauntlet-style mittens with liners inside. If you need to use your hands: tug off the mittens, and your skin is still somewhat protected by the gloves.
My friend Chris Tomer — a far more accomplished climber than I — says “The trip ends quickly if your hands are too cold to use.” In his view, gloves are one of the most critical pieces of equipment you can buy. his price point is in the $160-$200 range.
Feet — Total Cost: $100-$200
Boots deserve their own separate article — which I’ll get around to later — but are no longer optional. Whereas in the summer you can get away with trail runners, any time snow is on the ground, you need the extra insulation.
Start with a good pair of wool socks.
You have to try on the boots in person. I wear Salomon’s most of the year, but actually have a winter-specific pair of insulated Merrell boots for when temperatures dip below zero.
Still, my advice is subjective to my foot size. You may be horribly uncomfortable in boots that fit me like a glove. My feature-shopping list remains mostly the same as it was in my “Start Hiking on a Budget” Guide: go with Gore-Tex.
If you think you’ll be traipsing through snow, you may also want to shell out extra for gaiters. These prevent snow from getting in over the top of your boots.
Answering Your Questions
This Sunday, I’m going to be holding a discussion thread, where I answer any questions you have about buying gear, or layering up for a winter trip. I’ll be online from 9am MST, until Noon.
If I don’t get back to you during that time frame, I’ll do my darnedest to answer your questions as soon as possible!
When I say really cold, I mean far below 0°Fahrenheit. I hiked through -3° weather in Hot Chilly’s lightest base layer, and I was perfectly comfortable.
While you can roll up a down jacket to store in your pack, don’t store it rolled up long term. This can cause the jacket to lose “loft,” which is the insulating quality keeping you warm.



Thanks so much - I'm saving this article so I can properly attire myself for hiking in northern New Mexico where I moved to recently! I'm just not sure polypropelene is safe to wear - has anyone looked into it?
I realized about halfway through this article that I’ve unknowingly had a side hustle as your gear photographer 😅. Perfect explanations all the way through, so helpful!